
Last updated November 17, 2026
 Sliding glass doors
 Single hung
 Double hung
 Horizontal roller
 Casement
 Bay & bow
 Entry doors
 Impact garage doors
 PGT
 CGI
Free in-home measure and quote - PGT, CGI and CWS impact lines compared on your actual openings, style by style
Get your free estimateWindows & Doors Warning Signs: A Mesquite Homeowner’s Reference Guide
A hairline crack in exterior caulk is not cosmetic in Mesquite. UV radiation and thermal cycling here turn a 1mm gap into a 4mm breach within two summers, and by the time it reaches 4mm, water has been wicking into the rough opening framing every time the monsoon arrives. The failure you can see right now is usually not the failure that matters. The one that matters started quietly a year ago.
This guide is built around those earlier signals – the ones that show up six to eighteen months before the obvious symptom – because that interval is where repair is still cheaper than replacement, and where warranty coverage may still apply. Desert conditions compress that timeline. Mesquite doesn’t give you the slow, forgiving decay a coastal climate does. What you’ll learn here: how to read each warning sign, what it actually indicates structurally, and which ones are worth a phone call today instead of next season.
Some of this you can check yourself in an afternoon. Some of it you shouldn’t touch. We’ll be clear about which is which.
Styles & brands we work with
- Single hung
- Double hung
- Horizontal roller
- Casement
- Bay & bow
- Sliding glass doors
- Entry doors
- Impact garage doors
- PGT
- CGI
Quick Answer
The earliest warning signs of window and door failure in Mesquite show up long before fogging or cracking – look for hairline caulk cracks at the exterior frame perimeter, condensation forming inside the glass (between panes, not on the room side), a color shift toward purple or brown in the glass coating, binding doors in summer that free up in fall, and oxidation streaking below weep holes. Caught in this early window, most of these are inexpensive repairs; caught late, they mean a failed insulated glass unit, water in the wall, or a full replacement.
Table of Contents
- Early Warning Signs vs. Late Failure: Why the Timeline Matters Here
- Condensation on Glass vs. Inside the Glass: The Distinction Most Homeowners Misread
- What a Sticking Door in Summer Actually Tells You
- Desert-Specific Warning Signs: Oxidation, Chalking, and Coating Shift
- Hardware Failure Precursors: The Grinding Before the Seize
- Exterior Signs Visible From the Ground: Flashing and Water Behind the Wall
- The Two-Minute Walkthrough: What to Check and When to Stop
- Warranty Registration: The Deadline Nobody Checks
Early Warning Signs vs. Late Failure: Why the Timeline Matters Here
A failed window announces itself. Fog between the panes, a crack you can catch a fingernail in, a door that no longer latches. By the time any of those show up, you’ve already crossed from “repair” into “replace,” and you’ve often crossed out of warranty coverage too. The earlier signals are quieter, and they’re worth learning because in Mesquite they don’t stay quiet long.
Three forces compress the failure timeline in the desert:
- UV intensity. Mesquite averages well over 280 sunny days a year, and the UV load on vinyl, glazing seals, and caulk is far higher than in a humid climate. Seal chemistry that might hold fifteen years in the Midwest degrades faster here.
- Thermal cycling. Daytime highs above 100°F and overnight lows that drop 30 to 40 degrees force window frames and door slabs to expand and contract daily. Every cycle works the caulk joint and the glass seal a little more.
- Monsoon moisture. The dry season doesn’t matter to a compromised seal. What matters is the two or three monsoon weeks when hard rain drives against that 4mm gap you meant to fix.
The practical upshot: the early-signal window that might run eighteen months in a mild climate runs closer to six to twelve months here. A homeowner in Sun City Mesquite who notices chalking in spring and waits for fall to address it often ends up replacing instead of repairing. That’s the whole reason this reference exists – the earlier you identify, the more options stay open. Our window replacement in Mesquite conversations start with the same question every time: how long has this been showing? The honest answer changes the recommendation.
Condensation on Glass vs. Inside the Glass: The Distinction Most Homeowners Misread
This is the sign we see misread more than any other, and it costs homeowners an entire winter or more of guessing before the answer becomes obvious.
Condensation on the room side of the glass is normal. It happens when warm, humid indoor air meets a cold pane – a hot shower in January, a kettle boiling, cooking. It clears when the humidity drops. If you’re wiping the inside face of the window, your window is doing its job; the issue, if there is one, is indoor humidity, not the unit.
Condensation between the panes is thermal seal failure. The insulated glass unit – the IGU, the sealed sandwich of two or three panes – has a desiccant spacer and a perimeter seal. When that seal fails, moisture enters the gap and can’t get out. You’ll see fog, haze, or a milky film that appears after cool nights and doesn’t wipe away because it’s not on a surface you can reach. A fingernail test settles it: if the haze is behind the glass, the seal is gone.
Here’s the part most guides skip. A failed IGU doesn’t always fog immediately. In Mesquite’s dry air, the first sign can be a faint etching or a slight sheen in one corner, most visible at a low sun angle in early morning or late afternoon. We’ve watched homeowners in the Mesquite foothills spend a whole winter assuming their “dirty” windows just needed cleaning, then discover fog in spring – by which point an important deadline had passed. Which deadline? The manufacturer warranty window on the sealed unit itself, which is separate from the frame and often shorter. If you suspect seal failure at all, check the registration status before you wait it out. That single step is worth more than any cleaning advice we could give.
What a Sticking Door in Summer Actually Tells You
A door that drags against its frame in July is one of two things: normal seasonal movement, or a structural signal. You need to know which, and there’s a two-minute test that separates them.
The two-minute test:
- Note exactly where the door binds – top corner, bottom strike side, or along the full latch edge.
- Look at the gap between the door slab and the frame at the head (top) of the opening, on the hinge side and the latch side. The gaps should be close to even.
- Place a level against the hinge-side jamb, vertically. It should read plumb or nearly so.
- Look at the threshold and the floor near the opening for a crack, a gap, or a step that wasn’t there before.
If the gaps are roughly even and the jamb is plumb, and the binding clears when the weather cools, that’s seasonal frame expansion – normal. Desert doors and frames move with the heat, and a door hung tight in winter can bind in summer without anything being wrong. A minor adjustment is all it needs.
If the gaps are uneven, the jamb is out of plumb, or there’s a crack at the threshold, that’s not normal. Uneven gaps point to header movement or, more seriously, foundation movement settling the opening out of square. In Mesquite’s expansive clay soils, foundation movement is a real phenomenon, not a scare tactic. When a door tells you the opening has moved, the window and door problem is the symptom; the structure is the story. That’s a call worth making early, and it’s a case where a proper measurement and a level matter more than a hinge adjustment. Our door installation in Mesquite team measures every opening twice before quoting, and a door that’s binding because the frame moved is a different job than one that’s binding because it was hung wrong to begin with.
Desert-Specific Warning Signs: Oxidation, Chalking, and Coating Shift
Some failure signs are particular to high-desert exposure. You won’t find these in a general window guide because they don’t happen much elsewhere, but in Mesquite they show up routinely, and they’re among the earliest indicators you’ll get.
Oxidation streaking below weep holes. Weep holes are the small openings at the bottom of a window frame that let water drain out. When water is getting trapped and sitting behind the frame, it oxidizes the metal and leaves a white or powdery streak running down the exterior wall below the weep hole. A single faint streak after a hard rain isn’t cause for alarm. Persistent streaking that reappears after every monsoon means water is pooling where it shouldn’t, and the weep path needs attention before it reaches the framing.
Chalking or pitting on vinyl frames. Vinyl window frames degrade under UV. The first sign is chalking – a fine white powder that rubs off on your hand when you run it along the frame. Later comes pitting, small rough depressions where the surface has broken down. Chalking is cosmetic and cleanable. Pitting is the frame losing its protective surface, and it’s a real indicator that the unit’s service life is shortening. If you can see pitting, the frames are telling you they’ve taken years of sun and won’t take much more without care.
Color shift in the low-e coating. Low-e coatings – the thin metallic layers that reflect heat – can delaminate. The sign is subtle: a shift toward a purple, bronze, or brownish hue in part of the glass, often a corner or edge, especially noticeable when you view the window at an angle against the sky. Normal low-e has a consistent, slight tint. A patch of different color that appears or spreads over a season is delamination beginning. Catch it early and the unit is often still under seal warranty. Catch it after fogging sets in and you’re replacing the glass.
All of these are exterior-visible. You don’t need to get on a ladder. Stand back from the house on a bright overcast day, when contrast is even, and look along the frame and below the sill. That’s the inspection. On any window or door work that involves heights or climbing, or that requires removing and re-seating a frame, leave it to a trained professional – a fall from an extension ladder ends more home improvement projects than any failed seal. Our technicians have up to 18 years of experience reading these signs, and they work with manufacturer lines including PGT and CGI, which have their own coating warranties worth checking against what you see. More on how we approach the craft side is on the TruePane Windows & Doors Mesquite home page.
Hardware Failure Precursors: The Grinding Before the Seize
Hardware rarely fails all at once. It warns you – grinding, skipping, a catch in the motion – for weeks or months before the mechanism seizes. The math on catching it early is stark: replacing a worn casement operator before it fails costs roughly a third of what fixing it after it seizes costs, because a seized operator can distort the sash and require more than a swap.
What to listen and feel for:
- Grinding or a gritty feel when you crank a casement window. The operator’s gears or worm drive are wearing. This is the beginning of the end, not a phase.
- Skipping or a dead spot as you turn the handle – the crank turns but the window doesn’t move for part of the rotation. Gear teeth are stripping.
- A catch or jump in a sliding patio door track, a door that needs a lift to slide, or rollers making a knocking sound. Roller bearings are failing.
- A handle or lock that won’t fully engage or takes extra force. The lock mechanism or its strike is misaligned or worn, and a window that won’t lock fully is a security and weather-seal problem at once.
- Multipoint door locks that skip a point – one point doesn’t catch when you throw the handle. That’s the internal mechanism beginning to fail.
The rule of thumb: if it grinds, skips, or catches, it’s failing, and the repair is a hardware replacement. If it’s already seized or the sash won’t close, the repair can escalate. Here in Mesquite, hardware takes an extra beating from dust and grit getting into tracks and operators, and from the daily thermal expansion that works the mechanisms. A seasonal tune-up – cleaning and lubricating tracks, checking operators, adjusting hardware – is the cheapest insurance there is against the seize. Our $89 seasonal tune-up exists for exactly this; it’s a small cost against a hardware replacement that runs multiples of it. And the grind you’re hearing today is the one that becomes a failure during the first monsoon of the year. Therma-Tru doors, which we install, use hardware systems with their own wear patterns worth knowing.
Exterior Signs Visible From the Ground: Flashing and Water Behind the Wall
This is the section that matters most for warranty and insurance documentation, and it’s the one almost nobody writes about. Water damage behind a wall shows on the exterior before it shows inside. If you learn to read the outside, you can catch flashing failure before it ever stains your drywall – which is critical, because by the time interior staining appears, the damage has usually been developing for a season or more and the documentation question gets harder.
What to look for from the ground, on the exterior of the opening:
- Gaps or cracks in the caulk line where the frame meets the siding or stucco. Hairline is the early signal; wider is late. In Mesquite’s UV, hairline gaps open fast.
- Staining or discoloration on the wall just below a sill or below the frame, especially dark streaks that reappear after rain.
- Bubbling, peeling, or soft spots in paint or stucco around a window or door – the classic exterior sign of moisture trapped behind the surface.
- Corrosion at fasteners or at the sill – rust or white oxidation at screws and at the base of the frame.
- Loose, lifting, or failed flashing at the head or sill. If flashing has pulled away or its sealant has cracked, water is getting behind the wall.
- Daylight visible at the frame edge on the interior side, or a draft you can feel with a hand near the frame – the seal between frame and wall is compromised.
Any one of these means water is likely getting behind the wall. That’s a case for opening up and inspecting the rough opening – not for a quick bead of caulk over the top. Caulking over active water intrusion traps it and accelerates rot. This is the point where a professional inspection pays for itself, and where good photo documentation matters if a warranty or insurance claim is in play. If your windows are older and showing several of these at once, it may be a replacement conversation rather than a repair, and the window installation in Mesquite page covers what a proper rough-opening and flashing job looks like – flashing done right is half the reason a new window lasts.
The Two-Minute Walkthrough: What to Check and When to Stop
Here’s the practical version. Once or twice a year, walk the exterior and then the interior of your home’s windows and doors. It takes about two minutes per opening if you’re methodical. This is the whole inspection, in order:
- Exterior, stand back. On a bright overcast day, walk the full perimeter. Look for caulk cracks at the frame-to-wall joint, streaking below weep holes, and staining on the wall below sills.
- Exterior, close up. Run a hand along the frame edge and check for chalky powder on vinyl (frame degradation), rust at fasteners, and loose flashing at the head or sill.
- Interior, the glass. Check for fog, haze, or a tint shift between the panes, not on them. Wipe the room-side surface; if the film is behind the glass, it doesn’t wipe.
- Interior, the frame. Look for daylight or feel for a draft at the frame edge, and check for cracks in the frame or sash.
- Doors. Open and close every door. Note any binding, and where. Note any grinding, skipping, or catch in the locks and hardware.
- Operators and sliders. Crank every casement and slide every patio door. Listen for grit and feel for a dead spot in the motion.
Where to stop: stop at the first item that requires going up a ladder, removing a frame, opening a wall, or diagnosing structural movement. None of those are DIY territory. The exterior and interior checks above are yours to do safely from the ground and the floor. The moment the question becomes “is this water in the wall?” or “has this frame moved?”, that’s a professional’s call. You don’t need to guess; you need a measurement. Call (833) 620-7092 and a live person answers, day or night – not a voicemail tree.
Warranty Registration: The Deadline Nobody Checks
Here’s the mistake that costs homeowners the most, and it has nothing to do with noticing the problem. Most window and door systems carry two warranty layers: one from the manufacturer (covering the unit, and often a separate, shorter term on the sealed glass) and one from the installer covering workmanship. Both have registration requirements and time windows. If the sealed unit is failing and the manufacturer warranty hasn’t been registered in writing, you may be paying for a replacement that should have been covered.
This is why The Keystone Standard exists at TruePane. Before the truck leaves the driveway, we register both manufacturer warranty layers in writing and state the durations on paper – no fine print that covers neither. When a homeowner calls us about a window that’s fogged or a door that’s binding, one of the first questions is whether both layers were registered. If they were, and we installed it, we stand behind the work: the 90-Day Done Right Promise means if it isn’t done right, we make it right, without a paperwork fight.
If you’re not sure what your warrant
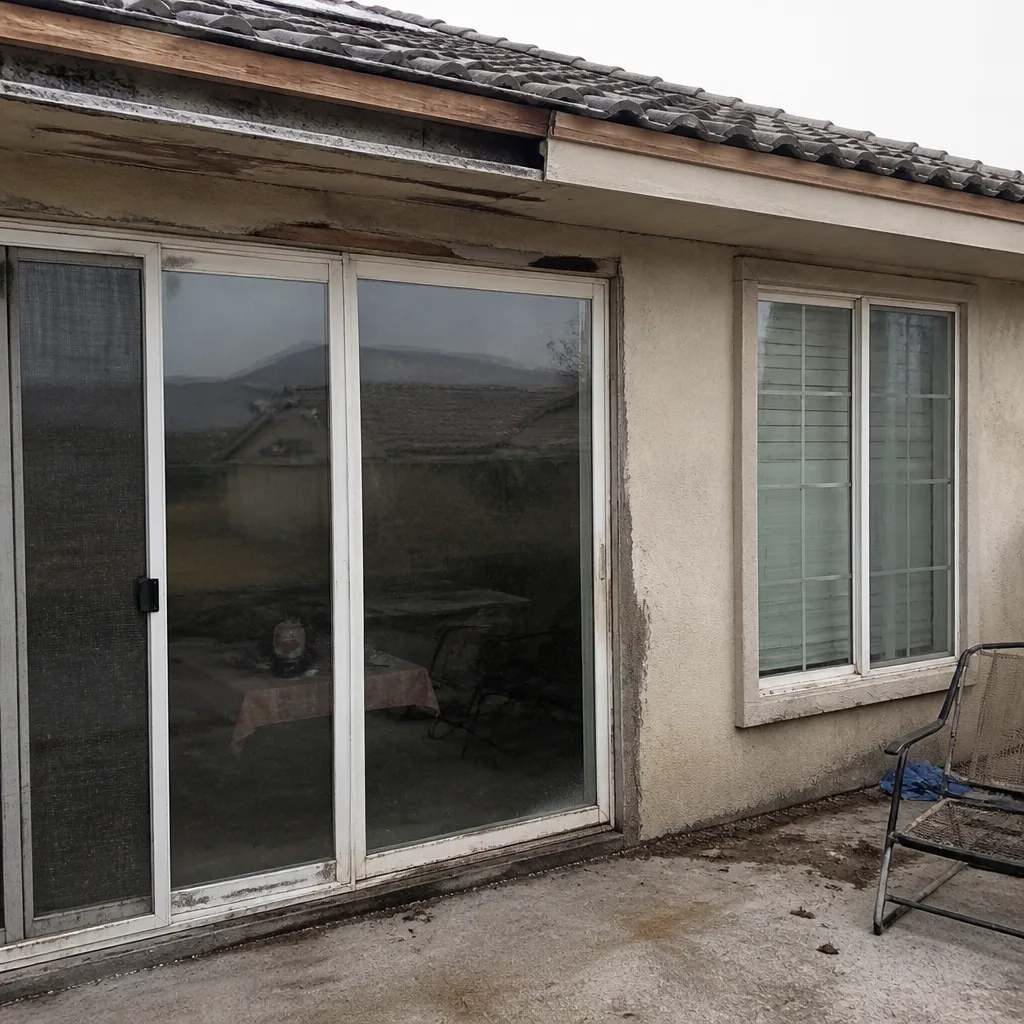
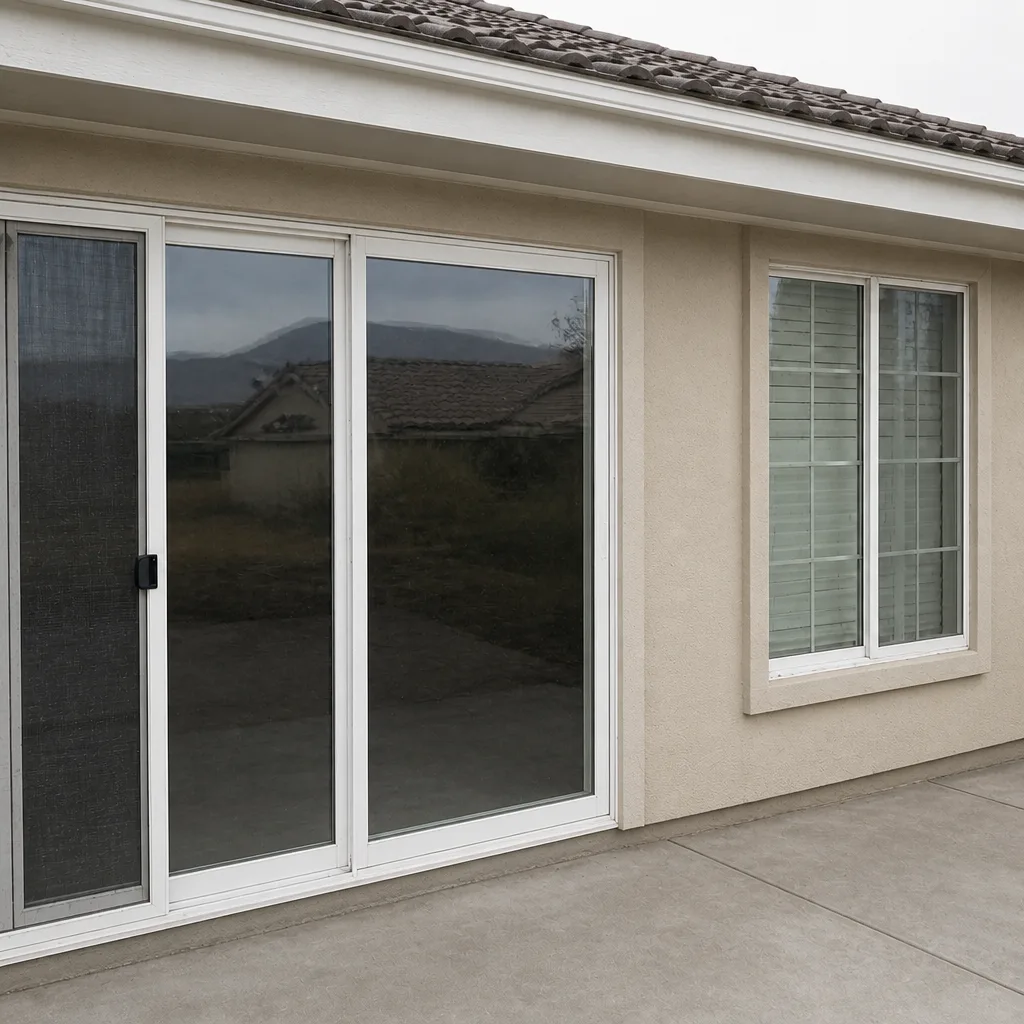
See the difference
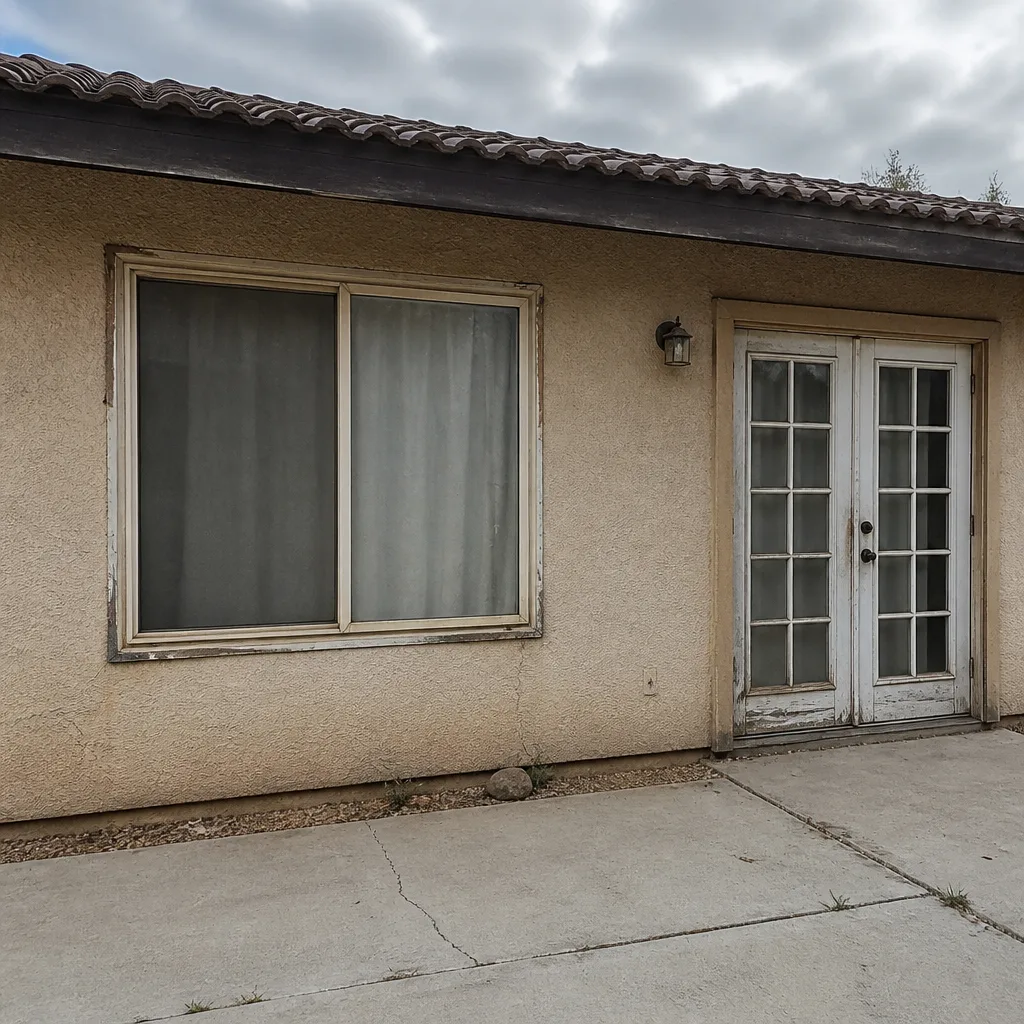 Before
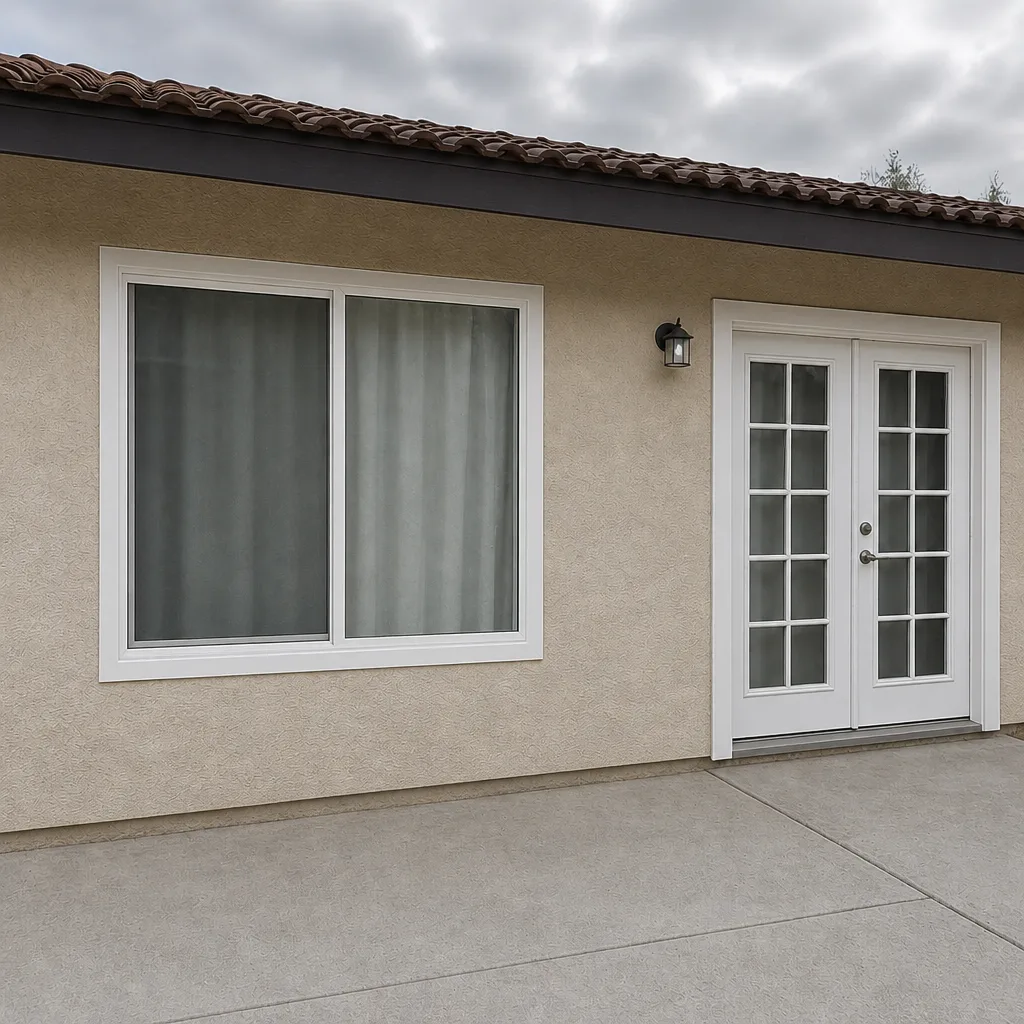 After
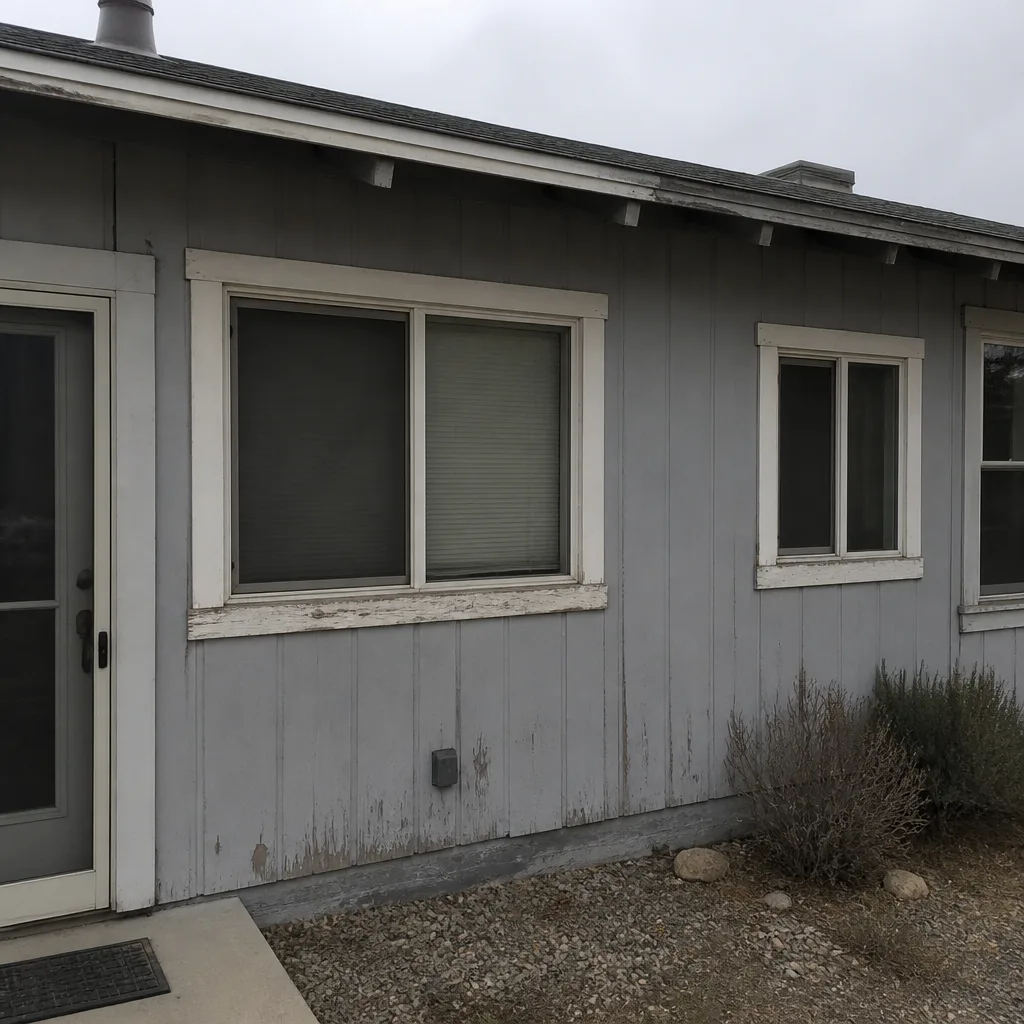 Before
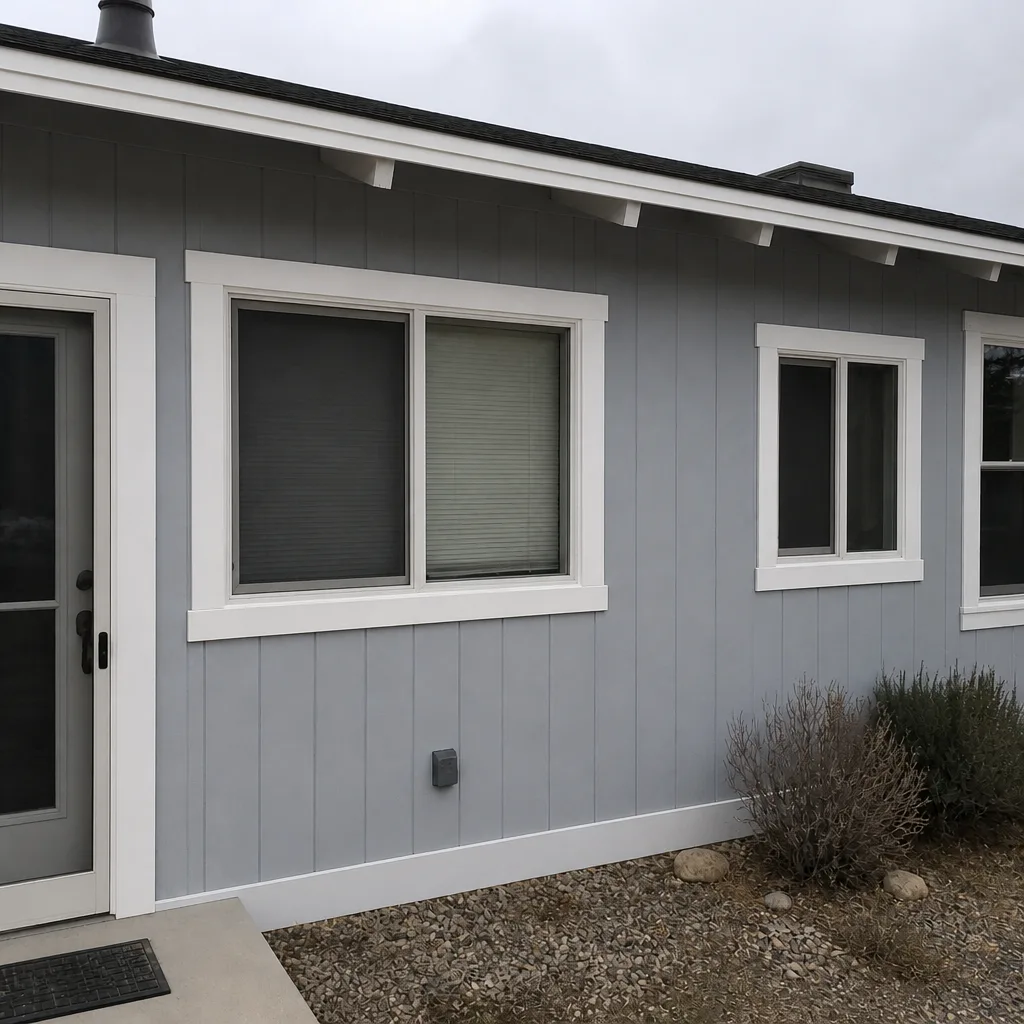 After
 Before
 After