
Last updated November 17, 2026
 Sliding glass doors
 Single hung
 Double hung
 Horizontal roller
 Casement
 Bay & bow
 Entry doors
 Impact garage doors
 PGT
 CGI
Free in-home measure and quote - PGT, CGI and CWS impact lines compared on your actual openings, style by style
Get your free estimateDIY vs Professional Windows & Doors: The Mesquite Homeowner’s Decision Guide
Here’s the part most window advice skips: you can buy the exact same window a professional installs. The product is identical. The manufacturer’s warranty on the glass and frame follows that window no matter who sets it. What does not follow it is the installation warranty, and the moment a homeowner picks up a caulk gun and seats that unit into a stucco wall in Mesquite, that second warranty layer is gone. This guide walks through what you actually give up and gain on each path, where the real risk sits in a desert climate, and which jobs you can reasonably do yourself.
Quick Answer
For most full window or door replacements in Mesquite, hiring a licensed professional is the better call because a homeowner install typically voids the manufacturer’s installation warranty, the layer that covers the costly failures like water intrusion behind stucco and seal failure from bad flashing. DIY makes genuine sense for non-structural work: interior trim, hardware, weather-stripping, and operator mechanisms. The decision comes down to whether the task touches the rough opening. If it does, the warranty math almost always favors a professional.
Styles & brands we work with
- Single hung
- Double hung
- Horizontal roller
- Casement
- Bay & bow
- Sliding glass doors
- Entry doors
- Impact garage doors
- PGT
- CGI
Table of Contents
- The Two Warranty Layers Most Homeowners Confuse
- Why Desert Climate Changes the Failure Math
- Where DIY Errors Happen Most: Flashing, Sealing, Shimming
- The Stucco Factor in Mesquite Homes
- Nevada Licensing, Permits, and the Resale Question
- Where DIY Genuinely Makes Sense
- How to Evaluate Your Own Rough Opening Before Deciding
- Common Mistakes to Avoid
The Two Warranty Layers Most Homeowners Confuse
When a homeowner reads a window warranty, they usually see one document and assume it covers everything. It doesn’t. There are two distinct layers, and they cover entirely different failure modes.
The first is the manufacturer product warranty. This covers defects in the window or door itself: a broken seal in the insulating glass unit, a failed balance in a hung window, a cracked frame, a warped sash. It travels with the product. Buy a PGT or CGI unit at a supply house, install it yourself, and if the glass fogs internally two years later, the product warranty still applies because the defect was in manufacturing, not installation.
The second is the installation (workmanship) warranty. This is the layer that covers everything the product warranty does not: water intrusion, air leaks around the perimeter, uneven reveals, binding sashes, and seal failure caused by the installation rather than the factory. Almost every major manufacturer voids this layer when the window is not installed by a licensed, manufacturer-authorized installer. Read the fine print on a Therma-Tru door warranty or a ViewLux window warranty and you will find language that ties installation coverage to authorized installation.
What Each Layer Actually Covers
- Product warranty: insulated glass seal failure from factory defect, frame cracking, hardware failure, balance failure, finish defects.
- Installation warranty: water infiltration at the perimeter, air leakage around the frame, flashing failures, improper shimming that cracks or binds the unit, seal failure caused by racked frames.
In our experience, the failures homeowners call us about most often fall into the second bucket, not the first. Product defects are relatively rare. Installation failures, especially around the perimeter, are common and expensive.
Why Desert Climate Changes the Failure Math
Mesquite sits in a hot desert with summer highs regularly above 110°F, intense UV exposure, and a monsoon season that delivers hard, short bursts of rain. That combination stresses windows and doors in specific ways that a homeowner moving from a milder climate may not expect.
The first stress is thermal movement. A vinyl-framed window in Mesquite expands and contracts significantly across a single day, more than it would in a moderate climate. If the unit was not shimmed and anchored correctly, that movement shows up as binding sashes, cracked welds, and gaps at the perimeter. The second stress is UV. Sealants break down faster here. A bead of caulk that would last five years in the Midwest can fail in two or three in full sun on a west-facing wall.
The third is the monsoon hammer. When the rain comes hard and fast after months of dry heat, water finds every gap. Flashing that was installed with a folded corner rather than a soldered or properly lapped corner will let water in during the first good storm, and once water gets behind the stucco in a desert home, it does not dry quickly because the wall was never built to shed moisture.
This is why the installation warranty layer matters more here than the product layer. The failures most likely to actually occur in a Mesquite home are installation failures, and those are the ones a homeowner-install voids.
Where DIY Errors Happen Most: Flashing, Sealing, Shimming
Watch a window installation video and it looks manageable. Pry off the old trim, cut back the stucco, pull the old unit, set the new one, shim it, screw it, seal it. The steps are simple to describe. The failure points hide in the details of each.
1. Sill Pan Flashing
Water that gets behind a window has to go somewhere. A properly built sill pan, sloped to drain outward, directs it out. A homeowner-installed window without a sill pan, or with one that is not sloped correctly, traps water at the sill. In a desert monsoon, that trapped water pushes into the wall cavity. This is the single most common installation failure we see on Mesquite homes that were installed without a permit, and it is also the most expensive to repair because water behind stucco often means cutting out and replacing sheathing.
2. Seal Sequencing
Exterior sealing has an order, and getting the order wrong traps moisture. Interior sealant goes on before exterior sealant on many assemblies so the assembly can vent outward. Weather-resistive barrier laps over the top flange, under the side flanges, and behind the bottom flange. If a homeowner seals the bottom flange tight to the wall and laps the sides over it, water that gets in has nowhere to go. Getting this sequence right requires knowing the assembly, not just watching one video.
3. Shimming for Square
A window has to be shimmed so the frame is square and true within tight tolerances. Shim it out of square by a small amount and the sash binds, the lock misaligns, and the glass seal eventually fails because the frame is racked. On a large sliding door or a heavy impact unit, the shimming tolerances are tighter and the consequences of getting it wrong are more expensive. Proper shimming takes a lot of measuring and re-measuring, and it’s the step most DIY installations cut short.
Each of these steps is why we measure every opening twice before we order a unit and why a true install takes longer than the videos suggest. If the pane is not true, the job is not done.
The Stucco Factor in Mesquite Homes
Most Mesquite homes have stucco exteriors, and stucco changes the DIY calculus considerably. A wood-sided house lets you pull trim, cut back siding, install, and re-trim with relatively forgiving repairs. Stucco does not.
Cutting stucco cleanly requires the right blade and a steady hand, and cutting it wrong leaves a ragged opening that no amount of caulk will make look right. More importantly, a stucco opening has to be flashed correctly to integrate with the existing weather barrier, a step that often means cutting back into the wall to reach a sound waterproofing layer and reinstalling the lath and scratch coat around the new opening.
What to Know Before Cutting
- Stucco is brittle and cuts with a masonry blade, not a utility knife. A ragged cut is a permanent visual defect.
- Behind the stucco is a weather barrier and typically metal lath. Both must be cut back and properly integrated with the new window flashing.
- Patches in stucco rarely match the original texture perfectly. A visible color or texture mismatch on the wall is the most common cosmetic complaint we hear after a DIY install.
- On a two-story Mesquite home, upper-floor work adds fall risk on top of the technical risk, and that is a job for someone with proper equipment.
The stucco factor alone pushes many otherwise-doable window replacement projects into the professional column. But some jobs avoid the problem entirely, which is where DIY genuinely wins.
Nevada Licensing, Permits, and the Resale Question
Nevada sets a threshold for when a contractor’s license is required to pull a permit for a residential project. The number typically cited is $1,000 in combined labor and materials, a threshold most full window replacements cross easily. What that means practically is that a full window or door replacement of any consequence is a permitted job that requires a licensed contractor in Nevada, and a homeowner who pulls a permit and does the work themselves needs to understand the exposure.
The exposure shows up in three places:
- Water damage claims. If an unpermitted, homeowner-installed window leaks and the water damages a neighbor’s property or triggers a mold issue, the homeowner’s insurance may dispute the claim on the basis that the work was unpermitted or not done by a licensed contractor. That risk is real and worth a conversation with your insurance agent before you start.
- Resale disclosure. Nevada requires sellers to disclose unpermitted work. A buyer’s inspector will flag a homeowner-installed window on a stucco wall, and a buyer may discount the offer or require the work be redone before closing.
- Warranty claims. If the installation warranty is voided, there is no one to call when the seal fails, which circles back to the warranty point this whole guide is built around.
The $1,000 threshold is worth verifying with the Nevada State Contractors Board for your specific project, because the rules can shift. The point stands: on a project of any size, the permit and license question is part of the decision, not a footnote.
Where DIY Genuinely Makes Sense
We’re not going to pretend the answer is always a professional. Plenty of window and door tasks are well within reach for a careful homeowner, and the trade-off on these is friendly: no structural change, no warranty voided, and a clear skill ceiling that you can honestly assess.
Tasks Worth Doing Yourself
- Interior trim replacement. Swapping out interior casing around a window is a finish-carpentry job with no impact on the rough opening or the warranty. A miter saw, a nail gun, and a level are the tools.
- Hardware swap-outs. Replacing a door handle, a window latch, or a lock set is a screwdriver job and carries no warranty consequence as long as you use manufacturer-approved replacement parts.
- Weather-stripping replacement. Worn weather-stripping on doors and operable windows is a routine maintenance item and a genuinely easy DIY job. Materials cost is small, and the air-sealing effect is immediate.
- Operator mechanism replacement. On casement and awning windows, the crank operators and hinges are replaceable parts and a straightforward DIY job for a homeowner who is comfortable with hand tools.
For those tasks, the decision comes down to time and confidence. For anything that touches the rough opening, the flashing, or the exterior seal, the answer shifts. If you’re replacing a full unit or installing a new door from Therma-Tru or ViewLux, that’s a professional job, and it’s also where the door installation in Mesquite and window installation in Mesquite crews earn their keep.
How to Evaluate Your Own Rough Opening Before Deciding
Before you decide which path to take, spend twenty minutes with three cheap tools and get to know your own opening. What you find will tell you more than any generic decision chart.
- Check for level and square. A four-foot level tells you if the sill is flat and the jamb plumb. A tape measure across both diagonals of the rough opening tells you if it’s square. If the diagonals differ by more than a quarter inch, the opening has moved and the installation needs to account for that, which is a job for a professional.
- Check the moisture. A pin-type moisture meter pressed into the sill and surrounding framing tells you whether there has already been water intrusion. A reading above 19% in wood framing signals a leak that needs to be addressed before any new unit goes in, and the leak source is what needs fixing first.
- Check the exterior seal. Run a finger along the exterior caulk line. Cracking, peeling, or gaps mean the existing installation has failed at the perimeter, and the new install needs to fix that, not just cover it.
- Check the stucco. Look for cracks radiating from the corners of the opening. Hairline cracks often mean the original install stressed the stucco, and the new one needs to relieve that stress.
If everything checks out, you have an opening that is a reasonable candidate for a careful installation. If any of the four checks turns up a problem, a professional survey will tell you whether the extra work is a small add-on or a much bigger job. This is the point where a free estimate pays for itself.
Common Mistakes to Avoid
- Buying the unit before measuring the opening twice. Measuring before the old unit comes out and again after it’s gone is standard for a reason. Off by a half inch and the new unit won’t seat properly, and there’s no return on a special-order window.
- Skipping the sill pan. A homeowner install without a properly sloped sill pan is the most common way a monsoon season leaves a Mesquite homeowner with water behind the stucco. This one shortcut is worth the whole warranty conversation.
- Sealing the exterior before the interior. The wrong seal sequence traps moisture in the wall assembly. Interior sealant first, exterior second, or the assembly cannot vent to the dry side.
- Assuming the manufacturer will honor a warranty claim after a homeowner install. The product layer likely survives. The installation layer almost certainly will not, and the installation layer is the one that covers the failure modes that actually happen.
- Skipping the permit. Nevada’s licensing threshold is low enough that most full replacements need a licensed contractor and a permit. Skipping both creates a resale disclosure problem and a potential insurance problem.
- Ordering the wrong glass package. Mesquite homeowners often want low-E and impact glass, and the specific low-E coating matters in this climate. A homeowner ordering online may not know which coating performs best on a west-facing wall facing a 110°F afternoon.
- Trying to shim a heavy sliding door alone. A large sliding door or a heavy impact unit weighs too much to set alone. The risk to the installer and the risk to the unit both argue for a second set of hands and a professional crew.
See the difference
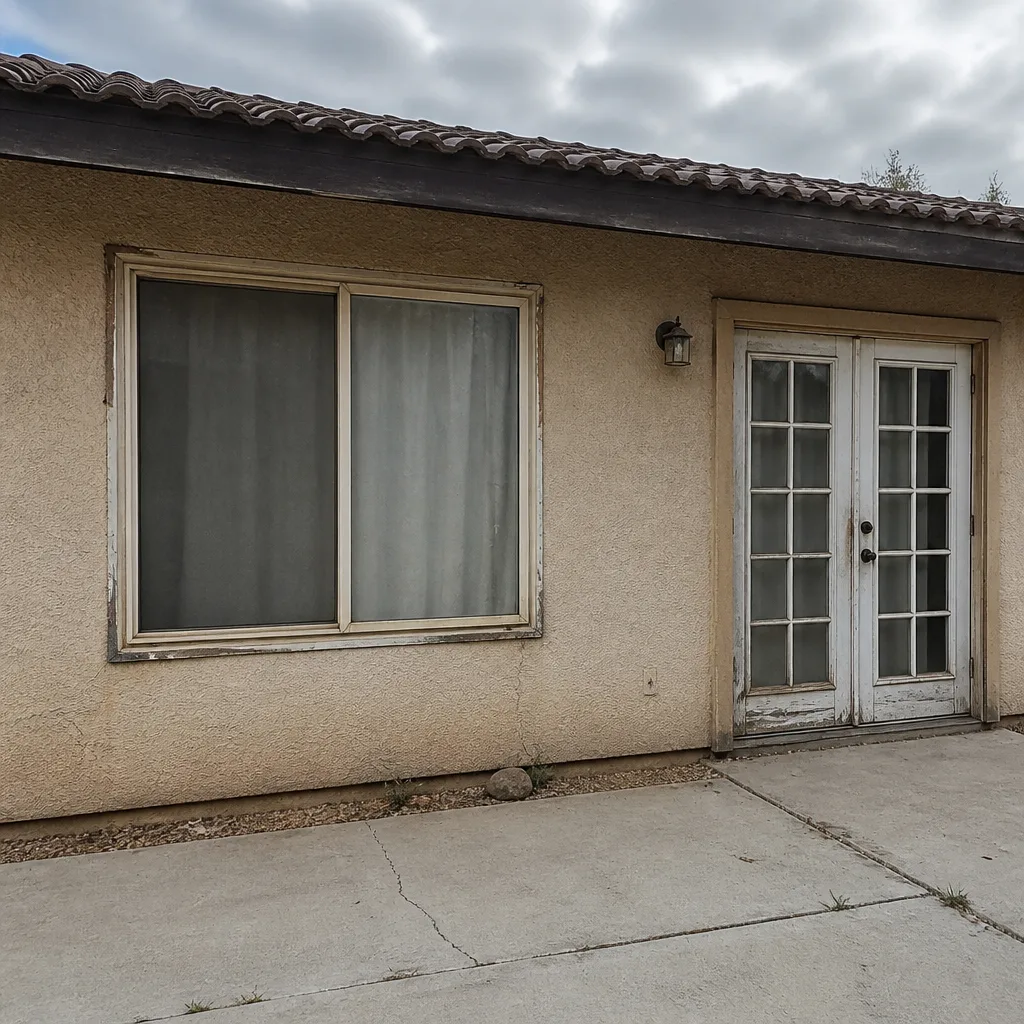 Before
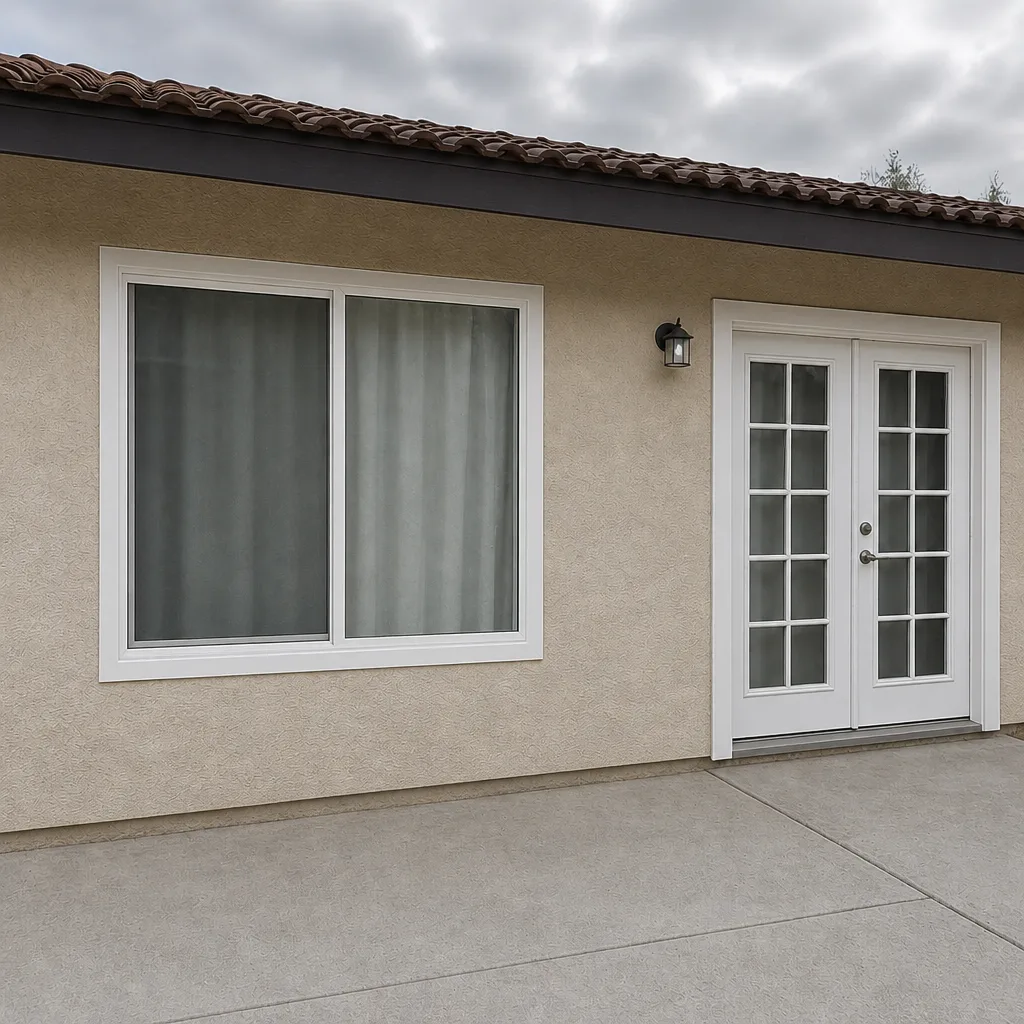 After
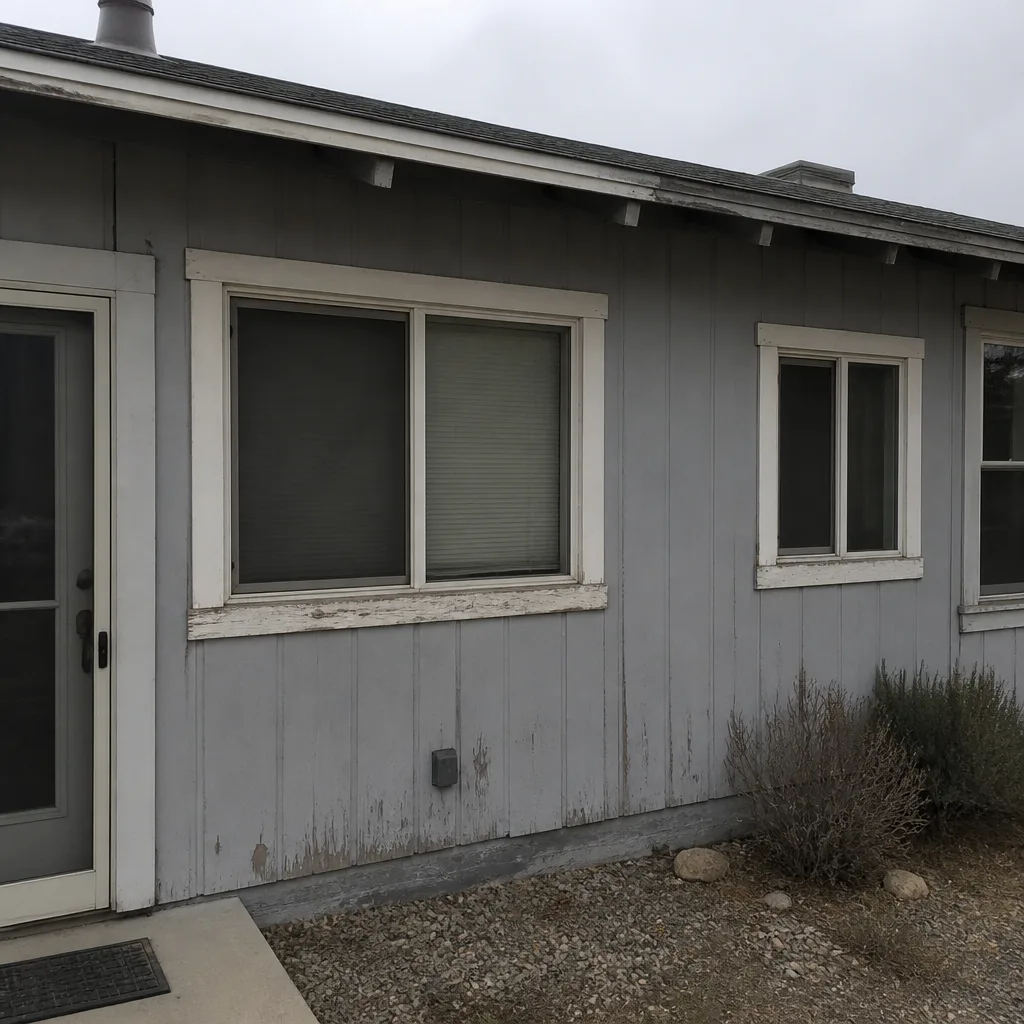 Before
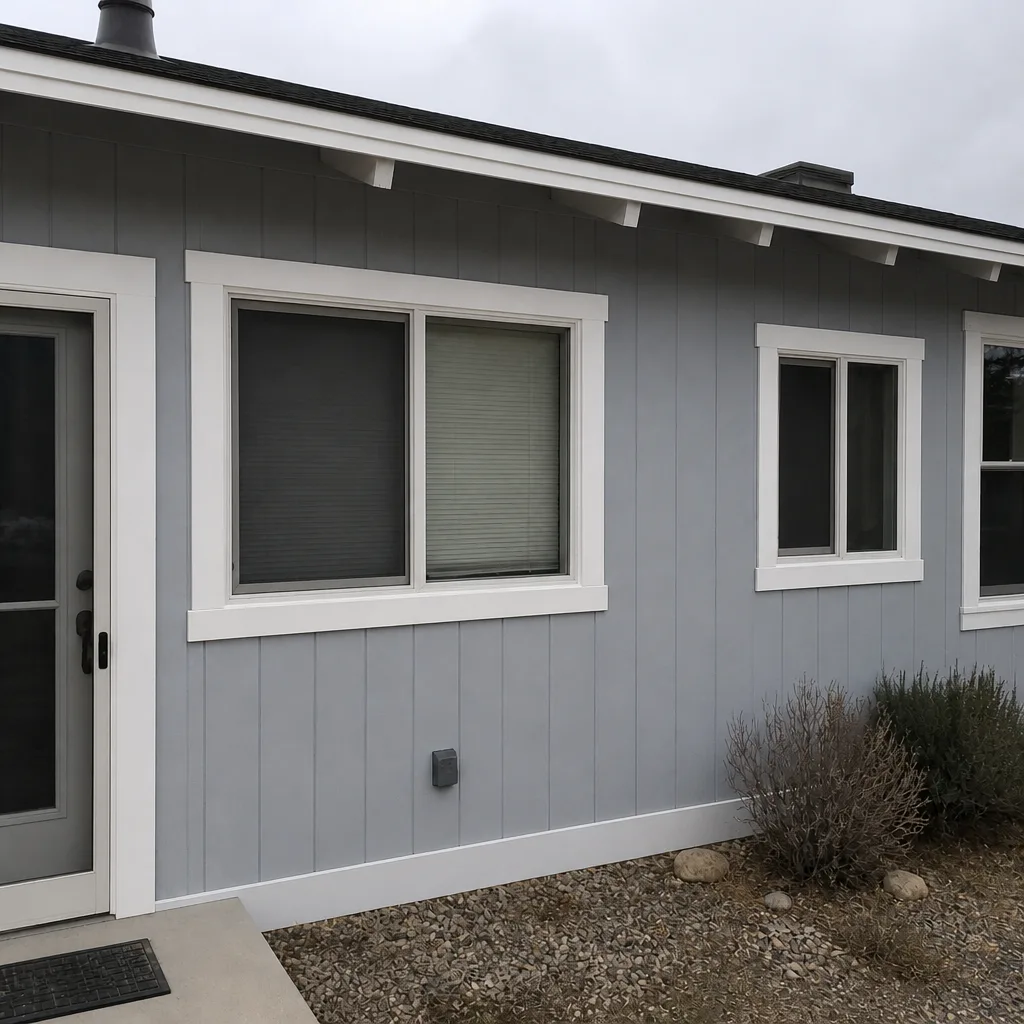 After
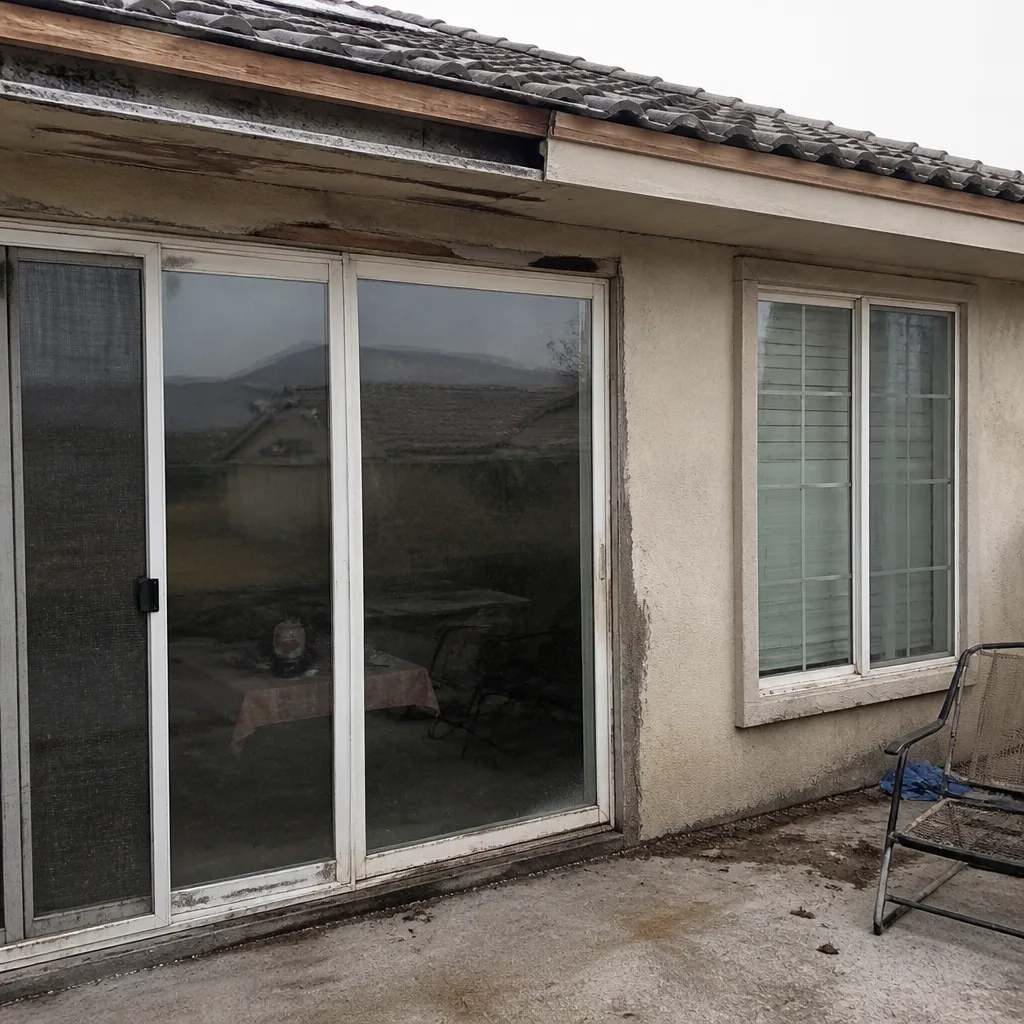 Before
 After
When to Call a Professional
Call a professional when the project touches the rough opening, when the exterior is stucco, when the unit is on an upper floor, when the existing unit has already leaked, or when the job is a full replacement rather than a part swap. Those scenarios cross the warranty line, and they cross the licensing threshold in Nevada. For anything you’re unsure about, get a professional survey before you order a unit. A free estimate on a window replacement in Mesquite gives you specific numbers on your specific opening, and the survey is often what tells you whether the job is bigger or smaller than you thought. TruePane Windows & Doors Mesquite offers free estimates in Mesquite, call (833) 620-7092.
Frequently Asked Questions
It voids the manufacturer’s installation warranty, not the product warranty. The product warranty on the glass and frame usually follows the window regardless of who installs it, but the installation warranty, which is the layer covering water intrusion and seal failure caused by installation, is typically voided when the work is not done by a licensed, authorized installer. In a desert climate, the installation layer covers the failures most likely to actually occur, so it’s the layer that matters most. Our team can register both warranty layers in writing on a TruePane installation through The Keystone Standard.
Generally yes, a homeowner can work on their own home, but Nevada sets a contractor licensing threshold, commonly cited around $1,000 in combined labor and materials, above which a permit requires a licensed contractor. A full window replacement crosses that threshold easily. Before you start, verify the current rules with the Nevada State Contractors Board for your specific project, and check with your homeowners insurance, because an unpermitted install can complicate a damage claim. Most Mesquite homeowners decide it isn’t worth the exposure on a full replacement.
Interior trim replacement, hardware and lock swaps, weather-stripping replacement, and operator mechanism replacement on casement or awning windows are the four categories that consistently make sense for a careful homeowner. None of them touch the rough opening, the flashing, or the exterior seal, and none of them void the installation warranty. For those tasks, DIY is a genuine option and often the better one. For anything that involves cutting stucco or setting a new unit, the trade-offs favor a professional.
Stucco is brittle and cuts with a masonry blade, so a clean opening requires a steady hand, and a ragged cut is a permanent visual defect. More importantly, the cut exposes the weather barrier and metal lath behind the stucco, both of which have to be integrated with the new window’s flashing, or water will get behind the wall on the first monsoon. Patching stucco so it matches the original texture is a separate skill, and most homeowners find the visible patch is worse than the savings. On a Mesquite home, the stucco is usually the deciding factor.
The DIY savings on a full window replacement come mostly from labor, and the labor is typically the smaller part of the total on a standard unit. The bigger variable is the cost of a failure: water damage behind stucco, a voided installation warranty, and the resale discount on unpermitted work. Our advice is to get a free estimate before you decide, so you’re comparing real numbers rather than a supply-house price with no installation and no warranty behind it. Call (833) 620-7092 and our team will put an exact quote on paper.
Often not, or not fully. Insurers routinely exclude damage from unpermitted or improperly installed work, and water damage that reaches a neighbor’s property can trigger a claim against you. The answer depends on your specific policy and your state’s rules, so this is a conversation to have with your insurance agent before the work starts, not after. The safer path is to have any work that touches the exterior envelope done by a licensed, insured installer, who carries the liability for their own installation.
The Bottom Line
The DIY versus professional decision is not really a money question. It’s a warranty-and-risk question, and in Mesquite the desert climate tips the balance toward a licensed installer on any job that touches the rough opening. Product warranties follow the glass and frame; installation warranties do not follow a homeowner install, and the installation layer covers the failures that actually happen here: water behind stucco, seal failure from bad flashing, binding sashes from out-of-square frames. For interior trim, hardware, weather-stripping, and operators, DIY remains a solid option. For anything structural, a professional is the square deal. When the answer is professional, see the TruePane Windows & Doors Mesquite home page or call for a free estimate.
Have a window or door you’re on the fence about? Call TruePane Windows & Doors Mesquite at (833) 620-7092 for a free estimate. A live person answers every call, 24 hours a day, 7 days a week, and our technicians have up to 18 years of experience measuring openings, quoting manufacturer lines side by side on paper, and registering both warranty layers before the truck leaves the driveway. We stand behind every installation with the 90-Day Done Right Promise and The Keystone Standard, and we’re proud to serve Mesquite homeowners who plan to stay in their homes for the long haul. If the pane is not true, the job is not done.
Written by the team at TruePane Windows & Doors Mesquite.